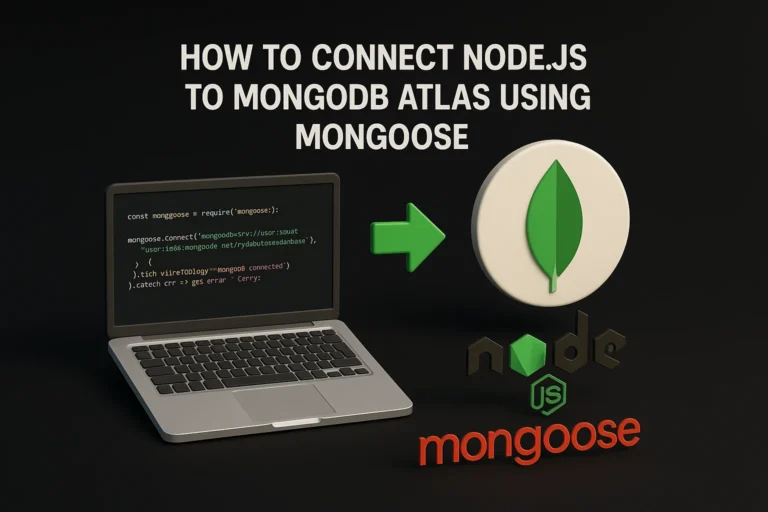
How to connect Node.js to MongoDB Atlas using Mongoose is a skill every modern developer should master — especially if you’re building a MERN stack or backend Node.js project.
In this tutorial, you’ll learn how to securely connect your Node.js backend to MongoDB Atlas using Mongoose, configure schemas, and test everything with Postman. By the end, you’ll be inserting real data into your cloud database with ease.
Table of Contents
npm create vite@latest
What is MongoDB Atlas?
MongoDB Atlas is a cloud-based version of MongoDB. It provides a managed environment with scalability, real-time analytics, and global distribution.
You don’t have to install or manage the database server yourself.
Why Use Mongoose in Node.js?
Mongoose is an ODM (Object Data Modeling) library that allows you to define schemas and interact with MongoDB in a more structured way.
It simplifies writing MongoDB queries and managing data types and validations.
- ✔︎ Benefits:
- Schema definition
- Middleware support
- Data validation
- Easier queries
How to Connect Node.js to MongoDB Atlas Using Mongoose – Prerequisites
Let’s create a basic Node.js project and connect it with MongoDB Atlas.
🛠 Required Tools:
- Node.js installed
- MongoDB Atlas account
- Postman
- Code editor (VS Code)
Step-by-Step Backend Setup:
1. Create a New Folder and Initialize the Project
					mkdir backend
cd backend
npm init -y
npm install express mongoose dotenv
2. Create server.js:
					const express = require("express");
const mongoose = require("mongoose");
const dotenv = require("dotenv");
const connectDB = require("./config/db");
const User = require("./models/User");

dotenv.config();
const app = express();
app.use(express.json());

// Connect to MongoDB
connectDB();

// POST API to insert data
app.post("/api/users", async (req, res) => {
  try {
    const user = await User.create(req.body);
    res.status(201).json(user);
  } catch (err) {
    res.status(500).json({ message: "Error inserting user", error: err });
  }
});

app.listen(5000, () => console.log("Server running on port 5000"));
3. Create config/db.js
					const mongoose = require("mongoose");

const connectDB = async () => {
  try {
    await mongoose.connect(process.env.MONGO_URI);
    console.log("MongoDB Connected");
  } catch (err) {
    console.error("MongoDB connection failed:", err.message);
    process.exit(1);
  }
};

module.exports = connectDB;
✔︎ This function connects your Node.js backend to MongoDB Atlas using
Mongoose.
4. Create .env
MONGO_URI=mongodb+srv://<username>:<password>@cluster.mongodb.net/dbname
🔒 Never share your real credentials in public repositories.
5. Create models/User.js
					const mongoose = require("mongoose");

const userSchema = new mongoose.Schema({
  name: String,
  email: String,
});

module.exports = mongoose.model("User", userSchema);
🎯 This is where your MongoDB schema is defined using Mongoose.
✔︎ Test API with Postman
- Open Postman
- Send a POST request to
http://localhost:5000/api/users - Use raw JSON:
					{
  "name": "John Doe",
  "email": "john@example.com"
}
✔︎ If everything is set up correctly, you’ll see the response with the inserted user data.
✔︎ Final Output :
When you test the endpoint, data is successfully saved to your MongoDB Atlas cluster.
Congratulations! 🎉 You just learned how to connect your Node.js backend to MongoDB Atlas using Mongoose and insert real data using Postman.
🚫 Common Errors and How to Fix Them:
| Error | Fix |
|---|---|
| MongoNetworkError | Check your connection string and IP whitelist in Atlas |
| Cannot find module | Check file path and module exports |
| 401 Unauthorized | Double-check username/password in .env |
| “Server not listening” | Ensure your app.listen is working correctly |
❓ FAQ – How to Connect Node.js to MongoDB Atlas Using Mongoose:
1. What is the difference between MongoDB and MongoDB Atlas?
In the context of learning how to connect Node.js to MongoDB Atlas using Mongoose, it’s important to know that MongoDB is a NoSQL database you run locally, while MongoDB Atlas is its cloud-hosted version. Atlas provides automated scaling, backups, and a secure environment—ideal for production apps.
2. Is Mongoose required to connect Node.js backend to MongoDB Atlas?
If you’re wondering how to connect Node.js to MongoDB Atlas using Mongoose, know that Mongoose isn’t required, but it’s highly recommended. It simplifies data modeling, schema validation, and query building—making your backend more organized and secure.
3. How do I get the MongoDB Atlas connection string?
When you’re learning how to connect Node.js to MongoDB Atlas using Mongoose, the first step is getting the connection string. In your Atlas dashboard, click Connect > Connect your application, and copy the URI. Replace the placeholder values with your actual database credentials.
4. I’m getting a “MongoNetworkError”. What should I do?
Errors like MongoNetworkError are common while figuring out how to connect Node.js to MongoDB Atlas using Mongoose. This usually means:
✔︎ Your IP is not whitelisted
✔︎ Your URI is incorrect
✔︎ Your cluster is paused
✔︎ Fix these in your MongoDB
Atlas dashboard.
5. Can I use MongoDB Atlas for free?
Yes! If you’re just starting to learn how to connect Node.js to MongoDB Atlas using Mongoose, MongoDB Atlas offers a free-tier cluster (M0) with 512MB of storage—great for small apps or testing your APIs.
6. Why do we use .env files when connecting with Mongoose?
When setting up how to connect Node.js to MongoDB Atlas using Mongoose, you should always store your database URI in a .env file. It protects sensitive data from being exposed in public code repositories.
7. Can I use Postman to test the connection with MongoDB Atlas?
Yes! While exploring how to connect Node.js to MongoDB Atlas using Mongoose, testing with Postman is super useful. You can send POST/GET requests to your Express routes and verify if data gets inserted correctly into MongoDB Atlas.
8. What port does MongoDB Atlas use?
If you’re researching how to connect Node.js to MongoDB Atlas using Mongoose, you should know Atlas connects securely over HTTPS using your URI, so you typically don’t need to specify a port. Behind the scenes, MongoDB uses port 27017.
9. What are common mistakes while connecting Node.js to MongoDB Atlas?
Common issues when trying how to connect Node.js to MongoDB Atlas using Mongoose include:
✔︎ Using the wrong URI or not encoding it properly
✔︎ Not using await with async mongoose functions
✔︎ Forgetting to whitelist your IP address
✔︎ Not defining a schema before using it
🔗 Internal Links:
🔗 External Resources:
🏁 Conclusion:
In this blog, we covered:
✔︎ How to create a basic Node.js backend
✔︎ How to connect Node.js backend to MongoDB Atlas using Mongoose
✔︎ How to insert real data using Postman
This method is a must-know for any backend developer working with the MERN stack. Mastering this will also help in building scalable APIs and real-time applications.
